
CONTENTS
MPK2 Series Hardware Setup
- First, connect the Akai MPK2 series controller to an available USB port on your computer using the supplied cable and power the controller on.
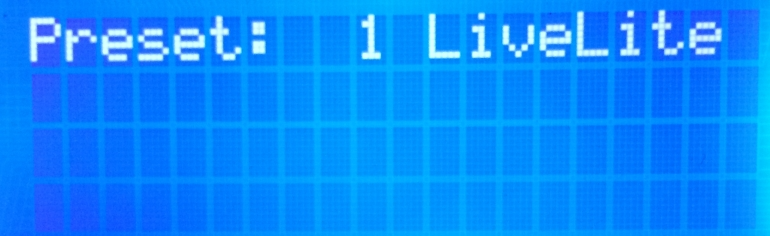
- Press the PRESET button and use the data dial to scroll to Preset: 1 LiveLite. Press the PUSH TO ENTER knob. Note: The presets, preset names, and order of presets may vary depending on the specific model.
- Press the GLOBAL button to enter the Global settings menu. Press the right arrow key until the display reads Clock Source: Use the rotary knob to select External.

- Hit the right arrow key until the display reads Save Globals. Press the PUSH TO ENTER knob to save the settings. The display will flash. When this is complete, the display will read.

- Press the PRESET button to return to the ProTools preset screen.
Ableton Live 9 Lite Software Setup
- First, connect the Akai MPK2 series controller to an available USB port on your computer using the supplied cable, and launch Ableton Live 9 Lite.
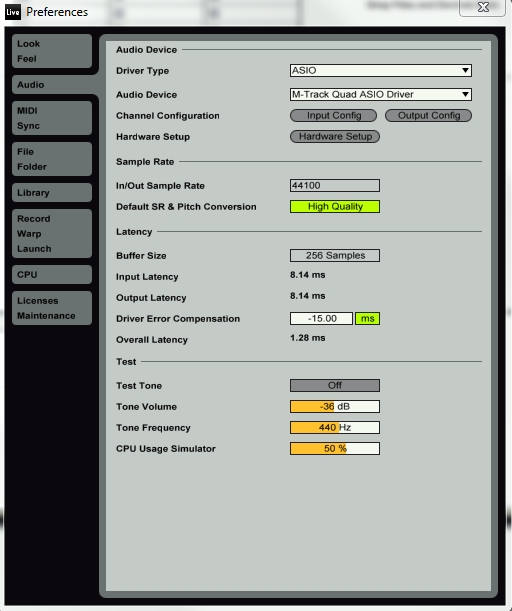
- Next, open the Ableton Live 9 Lite Preferences window. Choose your Audio Device in the Audio tab. This will be dependent upon the audio interface that you are using. MAC: Select Live > Preferences or use the key command shortcut - [Command + comma]PC: Select Options > Preferences or use the key command shortcut - [Control + comma].
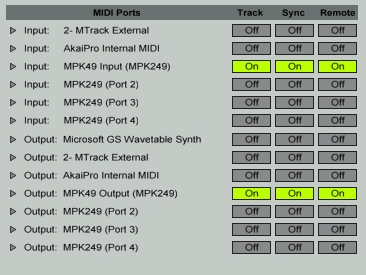
- Select the MIDI / Sync tab from the left side of the window. Within the MIDI Ports section, adjust the settings as suggested below: Next to Input: MPK249, toggle On the button in the Track, Sync and Remote columns as shown in the image below. Next to Output: MPK249, toggle On the button in the Track, Sync and Remote columns as shown in the image below.
- Next, at the top of the window under Control Surface, choose MPK49 from the drop-down list in row 1. The MPK series controllers are back-compatible with the MPK series controllers in Ableton Live 9 Lite. Also, choose MPK249 from the Input and Output drop-down menus in row 1.

Virtual Instruments and Plugins
Adjusting Ableton Live 9 Lite Plugin Sources
Note for Windows users only: If you have difficulty locating your plugin in your Plug-Ins category within Ableton Live 9 Lite, be sure Ableton Live 9 Lite is reading plugins from the correct location where your plugin is installed. To do this:
- Open the Preferences menu in Ableton Live 9 Lite MAC: Select Live > Preferences or use the key command shortcut - [Command + comma]PC: Select Options > Preferences or use the key command shortcut - [Control + comma]
- Choose the File Folder tab
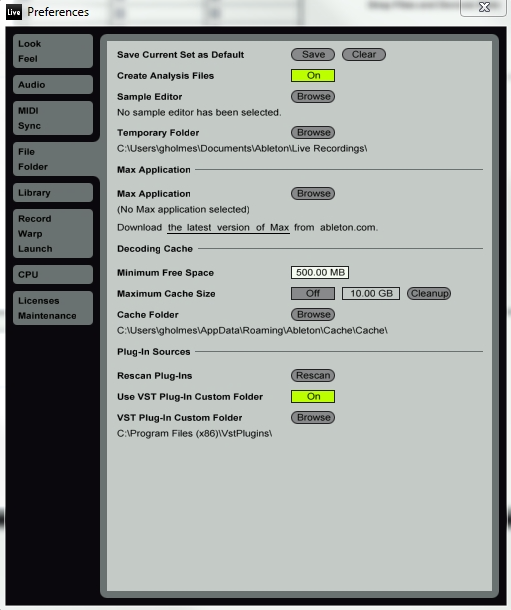
- Under the heading Plug-In Sources:
-Toggle On the button next to Use VST Plug-In Custom Folder
-Note the location under VST Plug-In Custom Folder.
- If this location is not set correctly, next to VST Plug-In Custom Folder, choose Browse, browse to the correct folder, and press OK.
Default Plugin Installation Locations
AIR Hybrid 3 Default Installation Locations:
Windows: 32-bit: C:Program Files (x86)VstPlugins 64-bit: C:Program Filesvstplugins Mac: (AU): Macintosh HD > Library > Audio > Plugins > Components (VST): Macintosh HD > Library > Audio > Plugins > VST
SONiVOX Twist 2 Default Installation Locations:
Windows: 32-bit: C:Program Files (x86)SONiVOXVstPlugins 64-bit: C:Program Filesvstplugins Mac: (AU): Macintosh HD > Library > Audio > Plugins > Components (VST): Macintosh HD > Library > Audio > Plugins > VST
SONiVOX Eighty Eight Default Installation Locations:
Windows: 32-bit and 64-bit: C:Program Files (x86)SONiVOXVstPlugins Mac: (AU): Macintosh HD > Library > Audio > Plugins > Components (VST): Macintosh HD > Library > Audio > Plugins > VST Back to Top
Hybrid 3 Setup
Hardware Setup
Press the PRESET button and use the data dial to scroll to Preset: 3 Hybrid. Press the PUSH TO ENTER knob.

Software Setup
- Within the Ableton Live 9 Lite Session View, under the Categories heading, choose Plug-Ins.

- In the right-hand column next to Categories, click-and-drag Hybrid onto a MIDI track to load Hybrid 3 into your Ableton Live 9 Lite session.
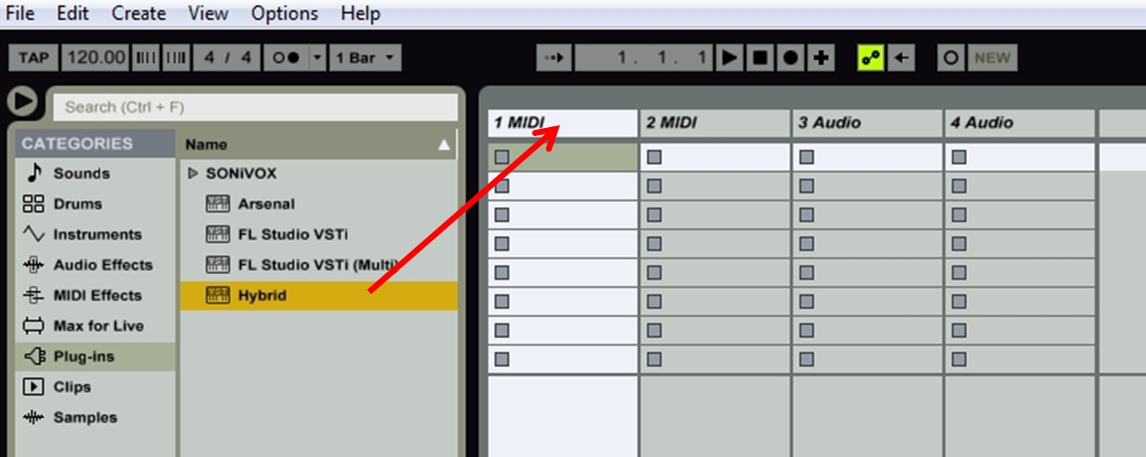
- The Hybrid 3 virtual instrument interface will now open.

Twist 2 Setup
Hardware Setup
Press the PRESET button and use the data dial to scroll to Preset: 4 Twist 2. Press the PUSH TO ENTER knob.

Software Setup
- Within the Ableton Live 9 Lite Session View, under the Categories heading, choose Plug-Ins.
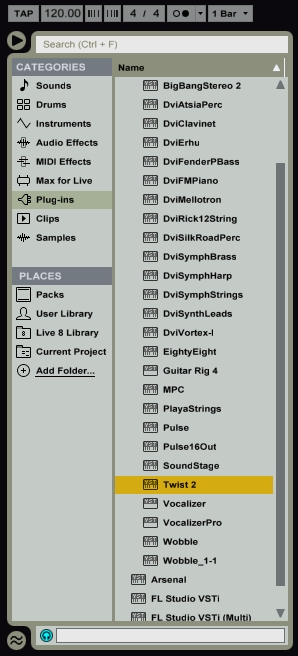
- In the right-hand column next to Categories, click-and-drag Twist 2 onto a MIDI track to load Twist 2 into your Ableton Live 9 Lite session.

- The Twist 2 virtual instrument interface will now open.

SONiVOX EightyEight Ensemble 2
Hardware Setup
Press the PRESET button and use the data dial to scroll to Preset: 5 Eighty8. Press the PUSH TO ENTER knob.

Software Setup
- Within the Ableton Live 9 Lite Session View, under the Categories heading, choose Plug-Ins.
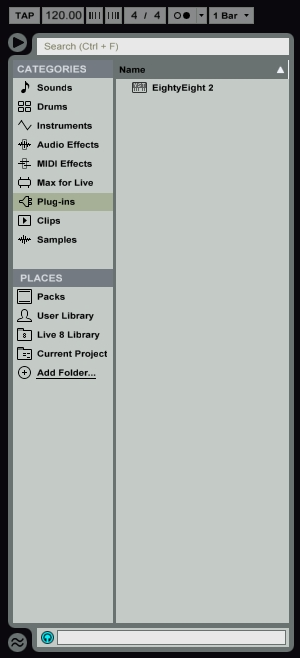
- In the right-hand column next to Categories, click-and-drag Eighty Eight 2 onto a MIDI track to load Eighty Eight Ensemble 2 into your Ableton Live 9 Lite session.

- The Eighty Eight Ensemble 2 virtual instrument interface will now open.
