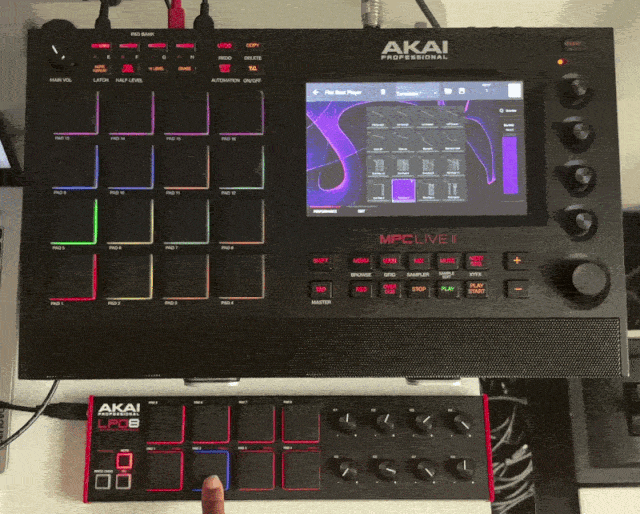
This guide will provide steps on how to set up a MIDI device to control the 16 FX pads inside Flex Beat on your MPC/Force standalone hardware.
Overview
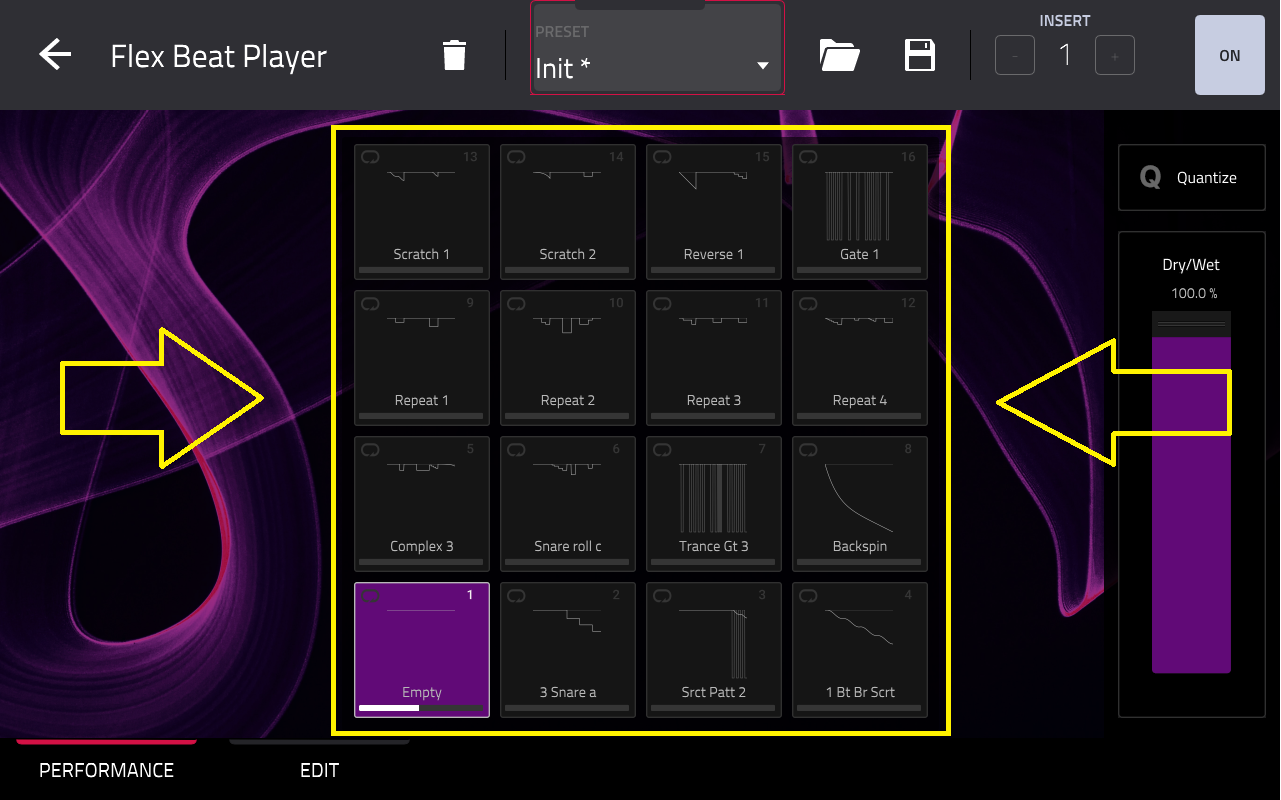
Flex Beat is an FX player, this means it applies FX based on the activity recorded into the arrangement/grid - such as a drum pattern or some notes from a plugin.
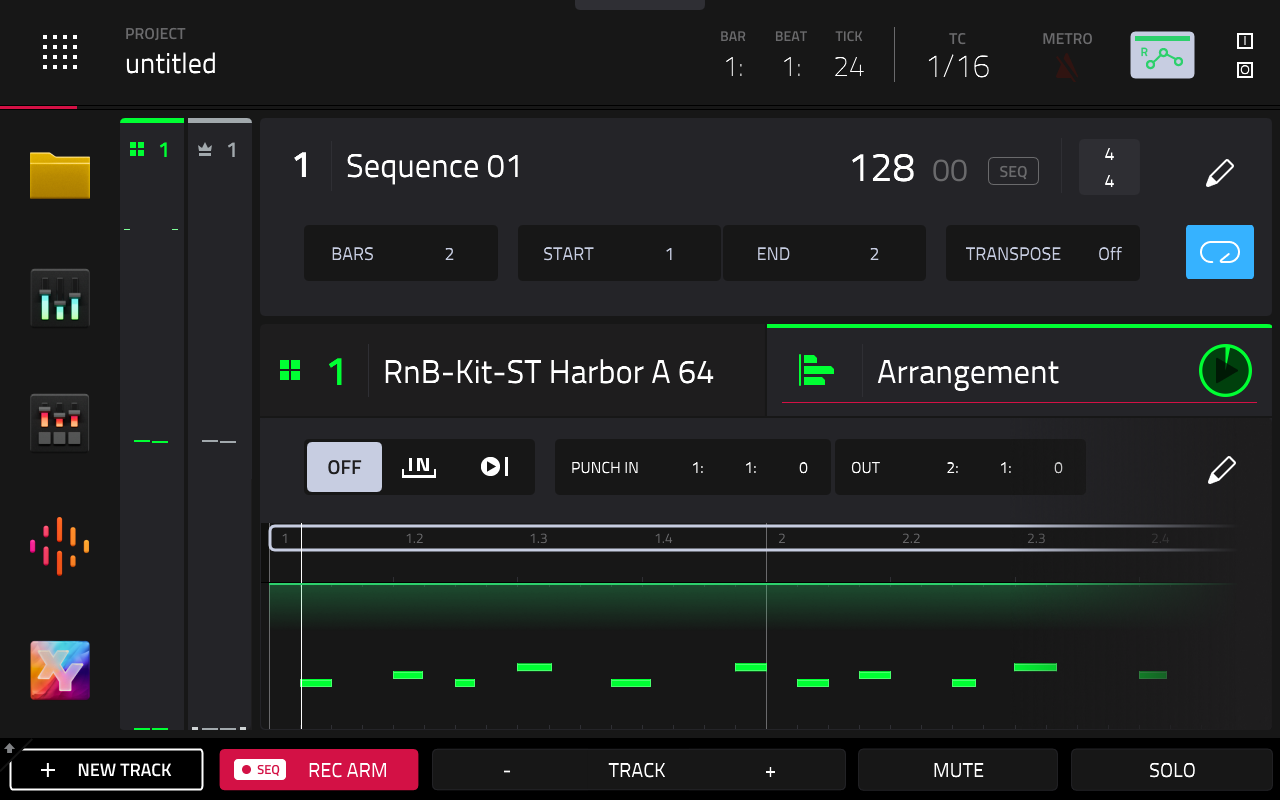
In order for Flex Beat to work, you'll need to first record MIDI into the arrangement - such as notes from a plugin or a drum program.
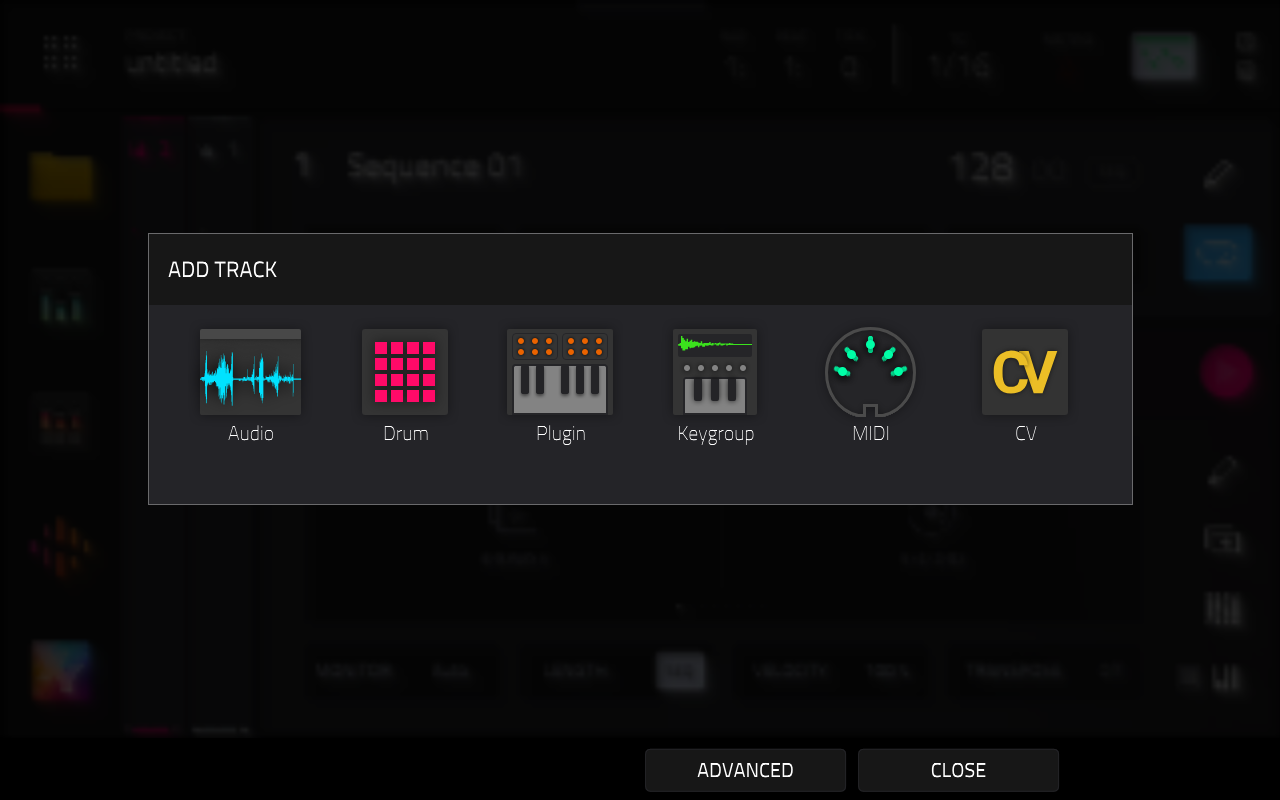
Loading Flex Beat
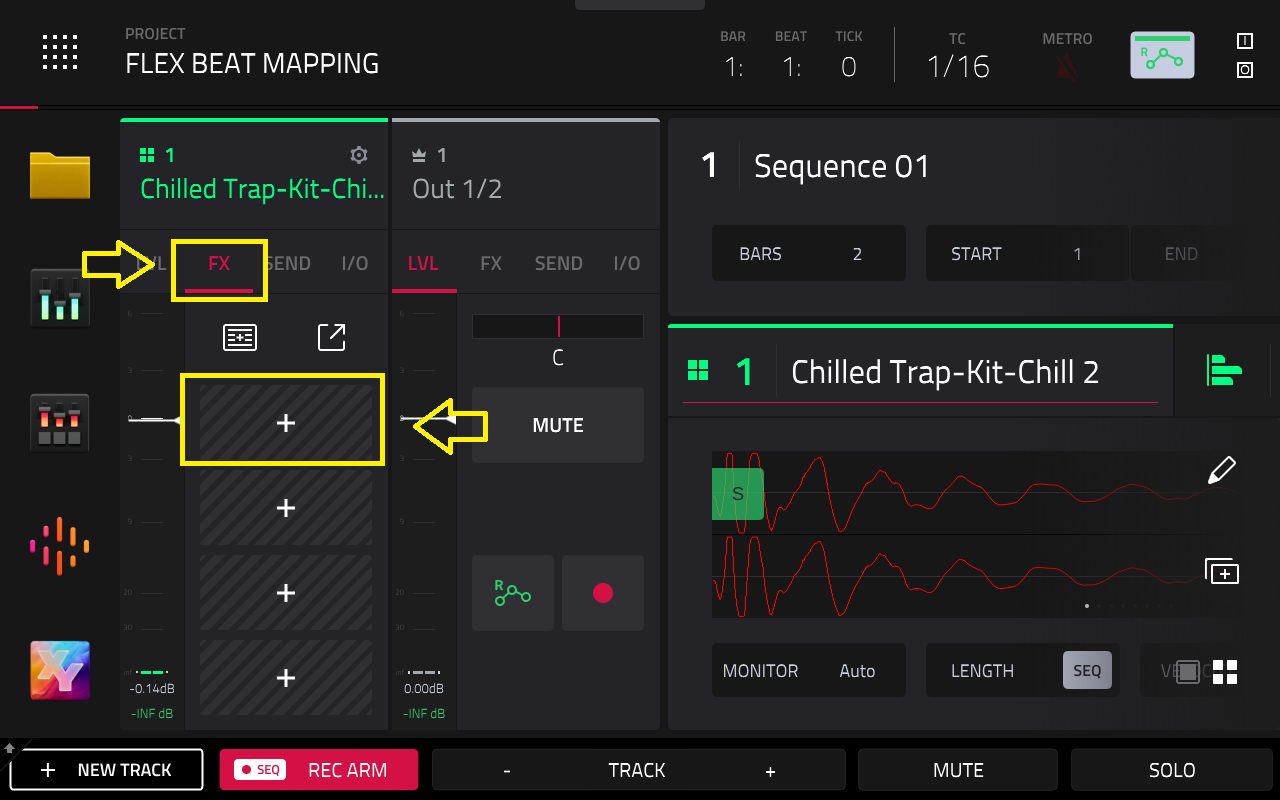
2. On your new track, tap FX, then the + icon
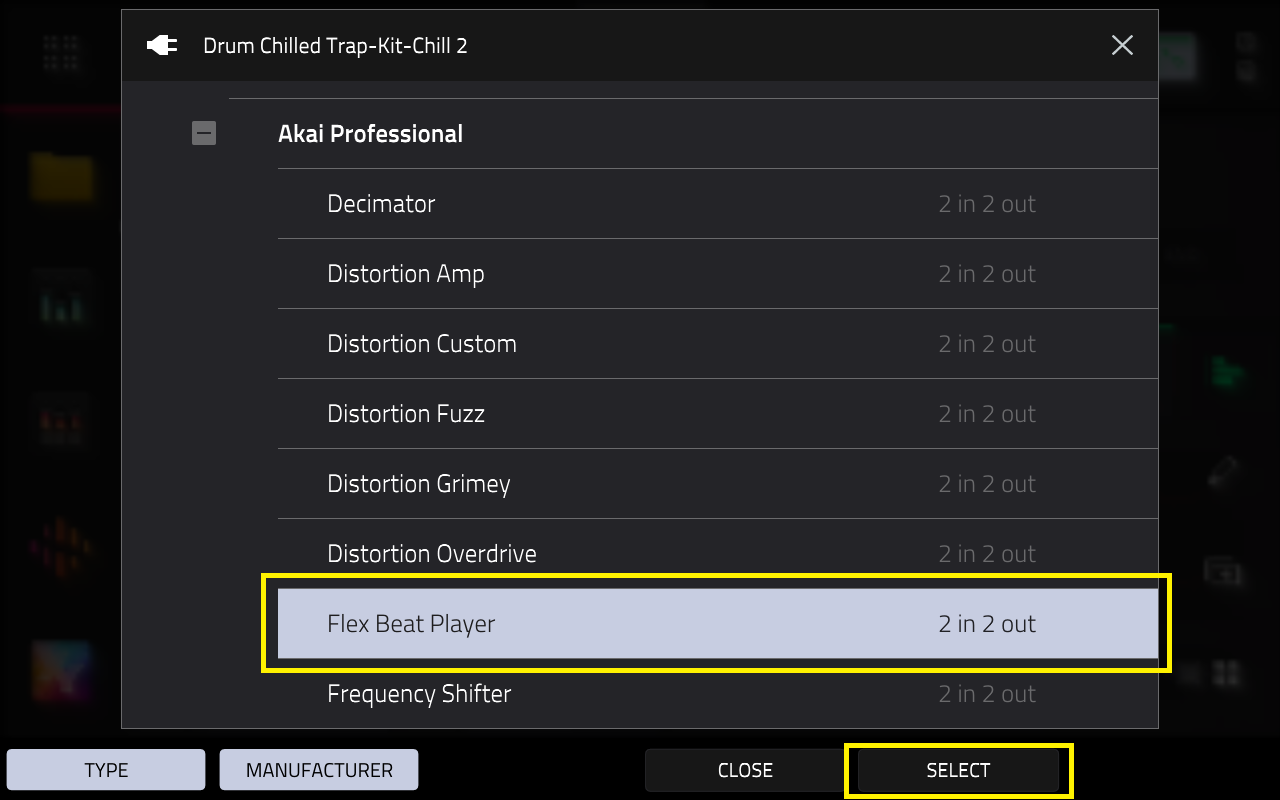
3. Select Flex Beat Player. It will be located under Harmonic > Akai Professional
4. Tap Select to load in Flex Beat
Mapping Flex Beat using MIDI Learn
MIDI Learn allows you to assign external MIDI controllers to various parameters in your specific MPC project:
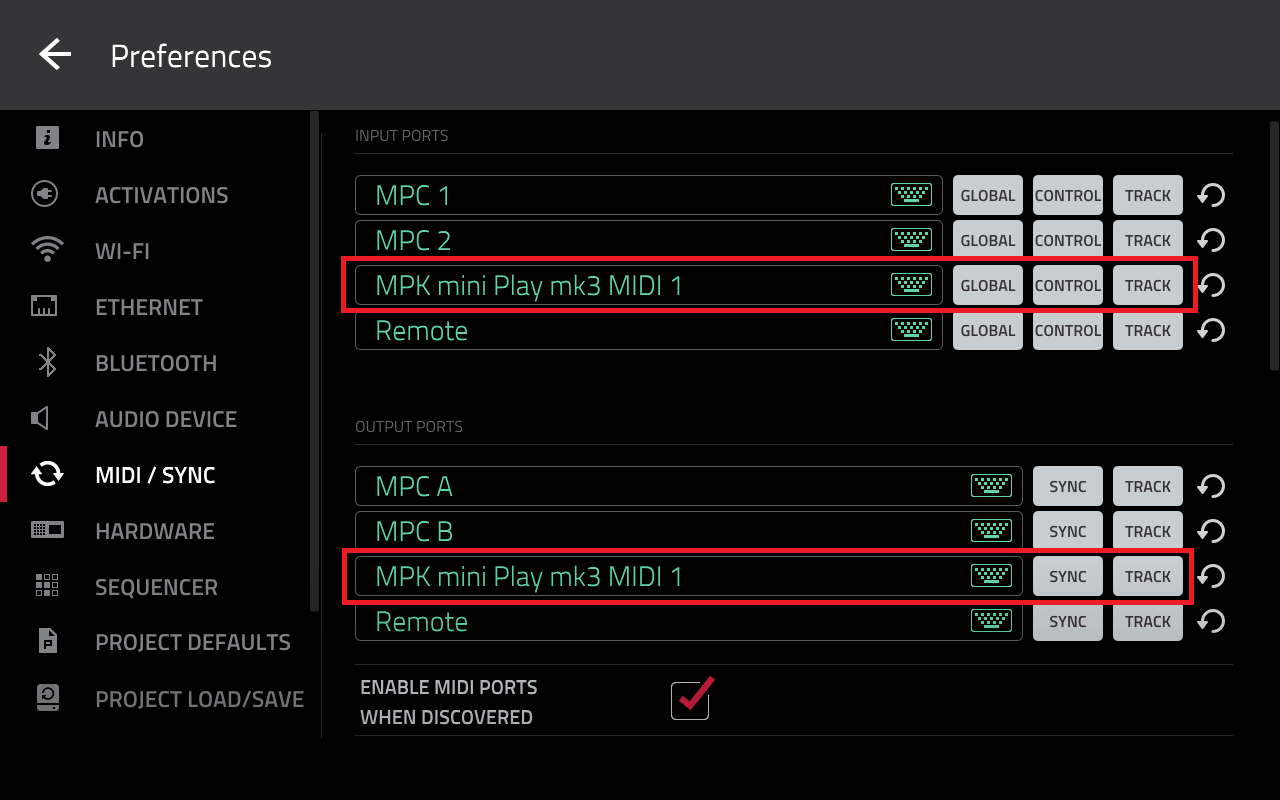
Important Note: When 'Control' is enabled, MIDI data from this port will be sent to MIDI Learn. Ensure this is on.
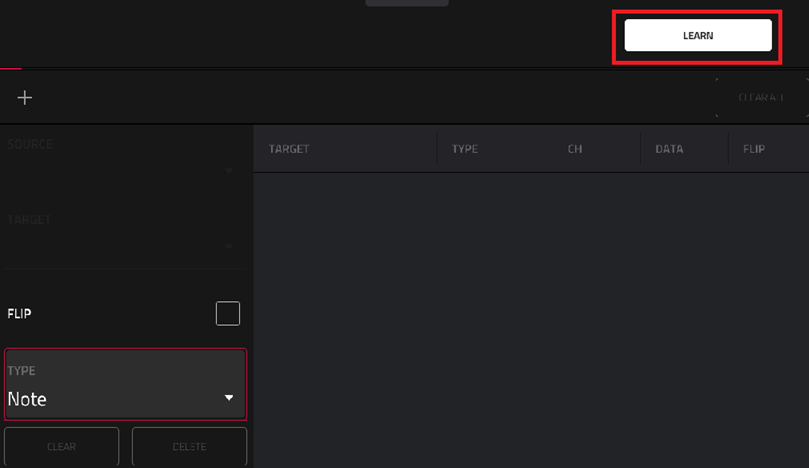
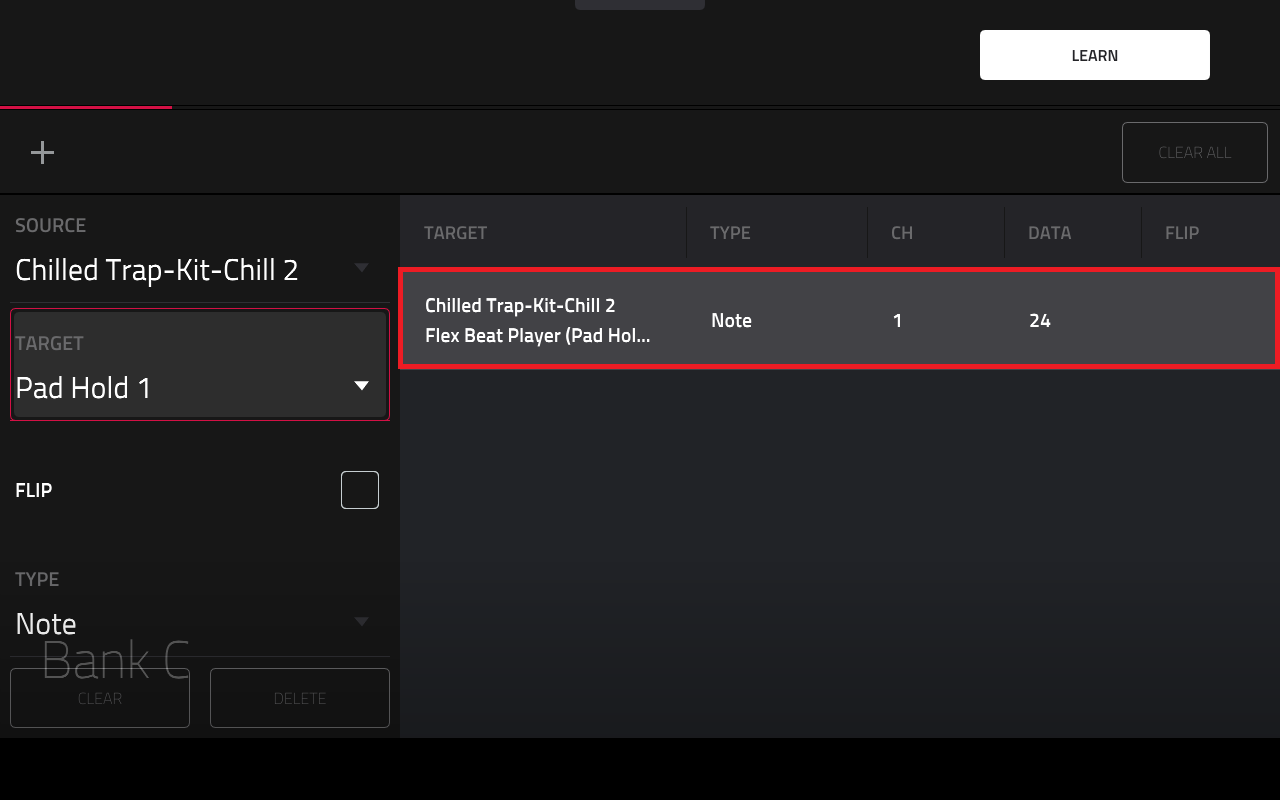
4. Tap LEARN

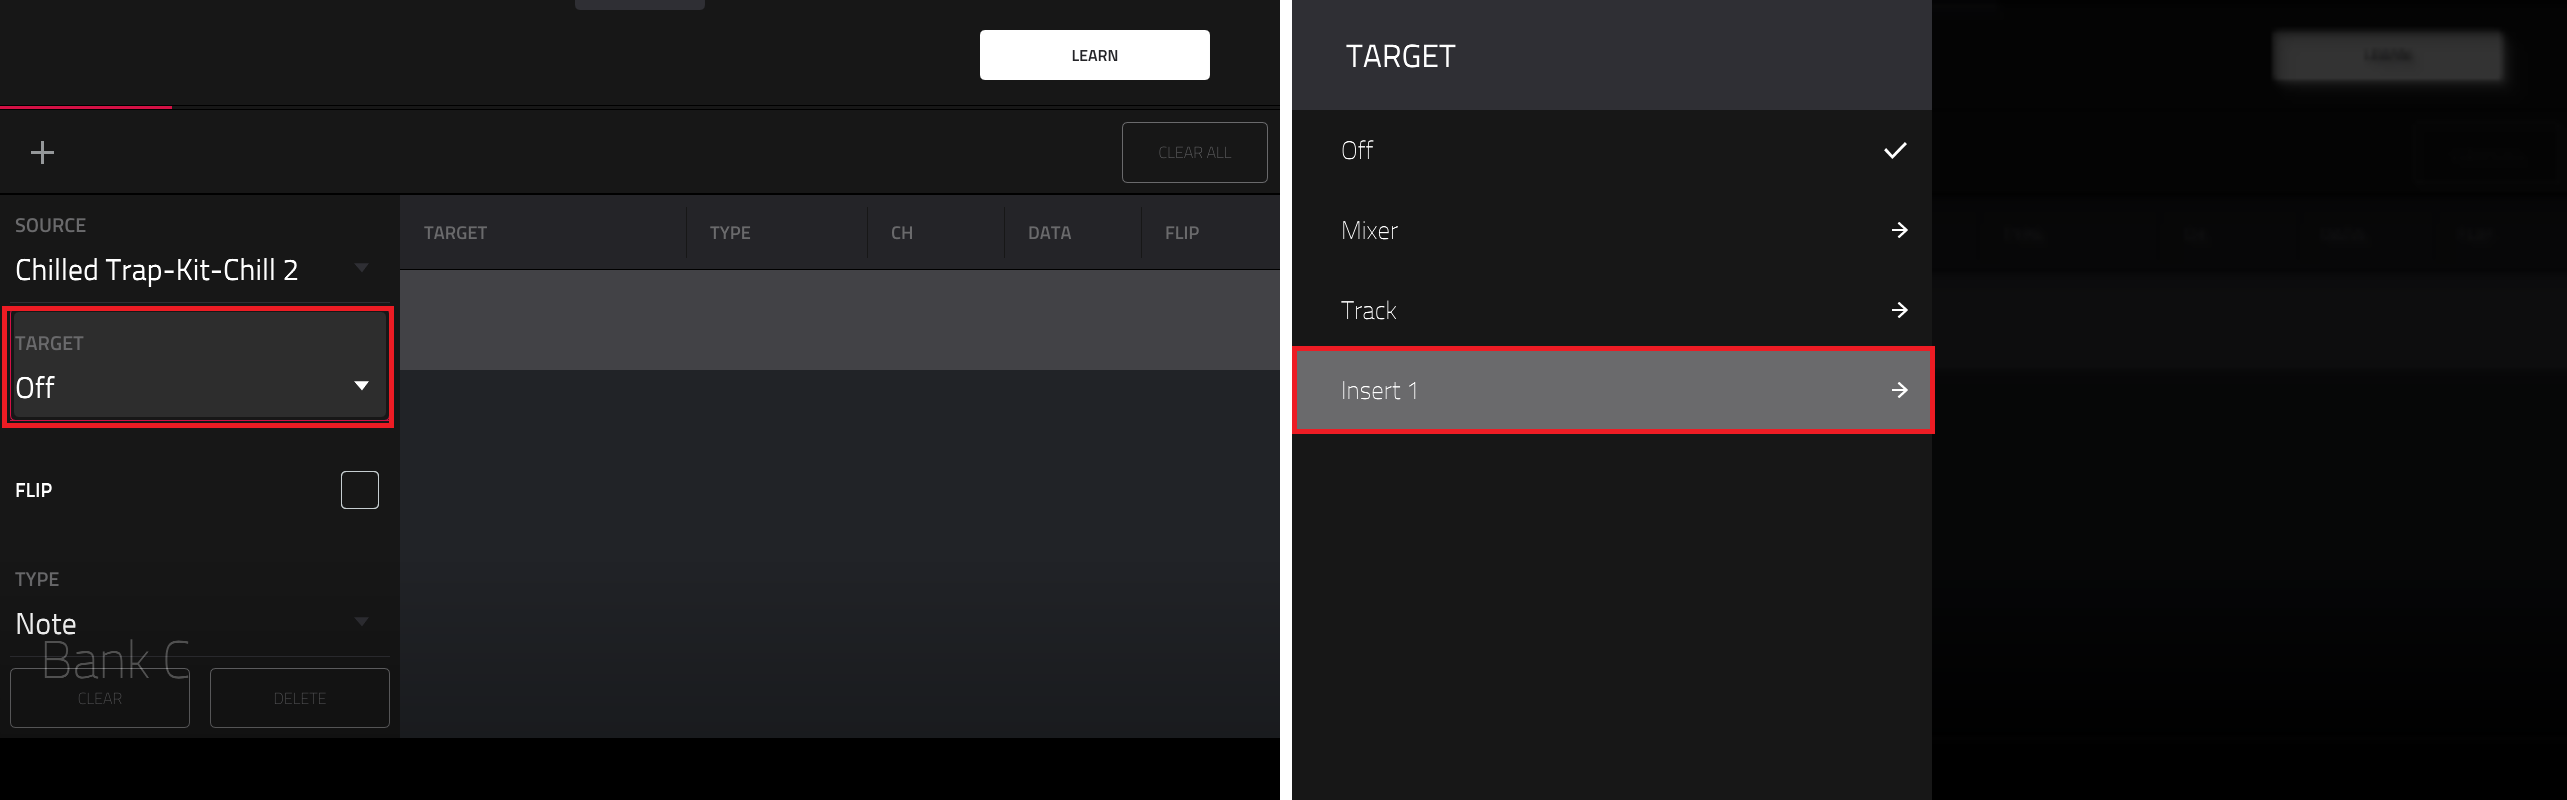
8. In the list, scroll down and select Pad Hold

10. Repeat steps 5-9 until all parameters have been mapped to your MIDI controller.
That's it!
Return to Main Mode and open Flex Beat, you should find that your MIDI controller is mapped to control the 16 FX pads inside Flex Beat