To export stems to MPC 3, you will need to start by having a Micro SD card inside the MPC Sample and saving the project to it. We'll start by accessing the project menu to save your project to the card.
Project Menu
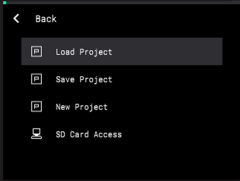
The Project menu lets you save and load your projects, as well as manage external microSD card storage.
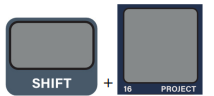
Press and hold SHIFT and press PAD 16 – PROJECT to open the Project menu.
Saving A Project
- Use the ENCODER to browse the available options, and then press it to select Save Project..
- Turn the ENCODER to scroll through letters and numbers. Press the ENCODER to select the desired character and move to the next character.
- Press and hold SHIFT to access capital letters.
- Press the -/+ buttons to move between characters.
- Press the B2 Function Button to erase the current character.
- Press and hold SHIFT and press the B2 Function Button to erase all characters at the same time.
- When you have finished editing the project title, press the B3 Function Button (Do It!) to start the export.
- To exit the project save page, press the B1 Function Button (Cancel).
Accessing the SD Card via your Computer
Use the ENCODER to browse the available options, and then press it to select SD Card Access
Connect your MPC to your Computer over USB
Select this option to access a microSD card (not included) inserted into the microSD Card Slot on MPC Sample from a computer connected via USB.
This allows you to easily transfer samples, songs, and project files between MPC Sample and your computer.
The microSD card will mount as an external drive on your computer. You are unable to use other modes while in SD Card Access mode.
When you have finished transferring files, make sure you safely eject the microSD card drive from your computer before exiting SD Card Access mode.
Once the drive is ejected, press the B1 Function Button to exit SD Card Access mode
Exporting Stems Via MPC 3
Using your File Browser, access the SD Card on your computer. You will want to open your Project File (.XPJ) on MPC 3.
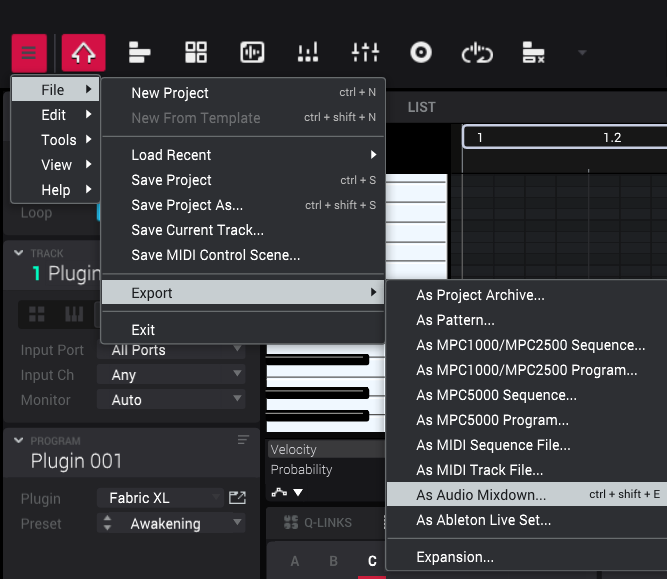
Once opened, go up to the MPC Menu icon and click File>Export>Audio Mixdown.
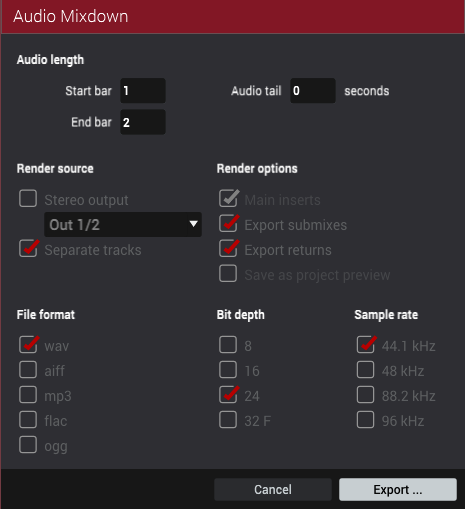
From here check off Separate Tracks, Export Submixes and Export Returns, then click the Export button in the bottom right.
Name your file and click Save. Any track names and pad names will also appear here so that you can see what pad the track corresponds to. Click Save when completed.
Follow the file path to your file and you will find the stems from your project.